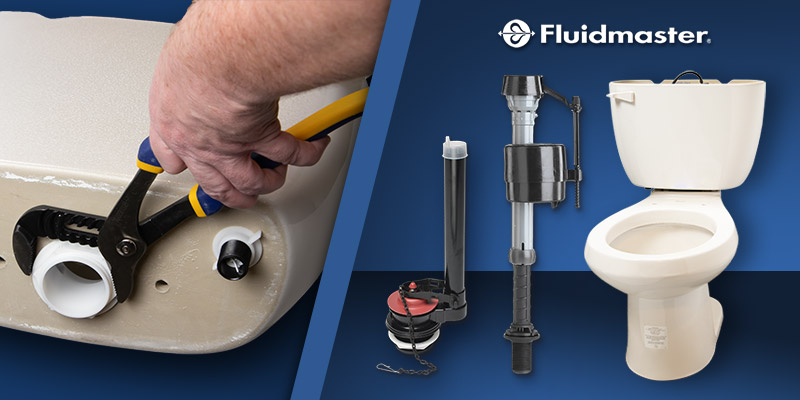
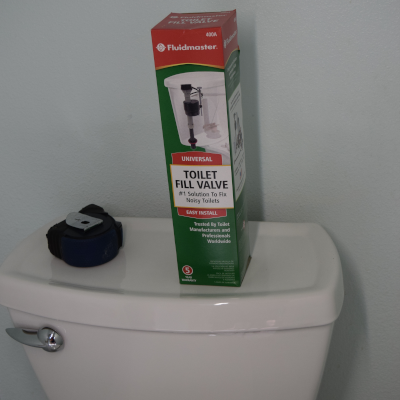
Fluidmaster 400A Fill Valve
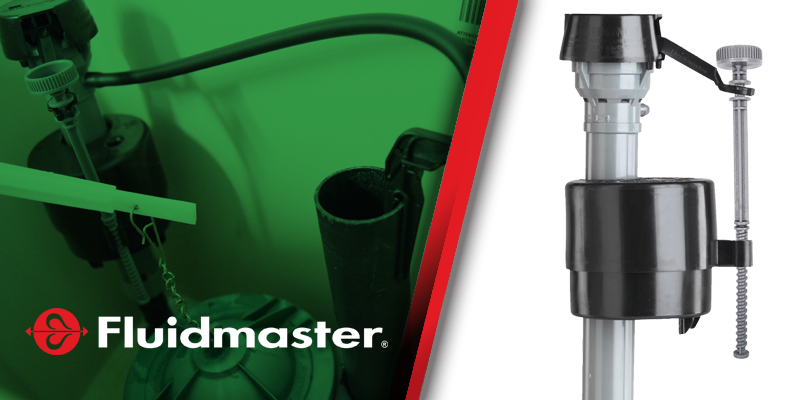
Want a fast, hassle-free solution for a toilet that won’t fill properly or won’t stop running? Choose the Fluidmaster 400A Universal Fill Valve. It’s the #1 selling fill valve for a reason.
Quieter, faster-filling toilets make everyone happier, but that’s not the only reason the Fluidmaster 400A Universal Fill Valve is so popular with maintenance professionals and property managers. “Universal” means exactly that*. The Fluidmaster 400A is designed to fit easily into most toilets, making it a convenient, cost-effective solution for immediate repairs, planned renovations, and faster turns.
- Easy to install — From in the box to in your tank in less than 15 minutes (see below).
- Universal fit — EZ-Twist the height from 9” to 14” to fit in most toilet tanks.
- 5-year warranty — Sturdy, corrosion-resistant material that’s made to last.
If the flapper also needs replacing, Chadwell Supply offers the valve and flapper kit, which features the Fluidmaster 400A and a chlorine-resistant flapper.
*Fluidmaster 400A is NOT compatible with Glacier Bay or Niagara Flapperless Toilets, or one-piece toilets. Will not replace side entry valves.
15-Minute Installation Guide
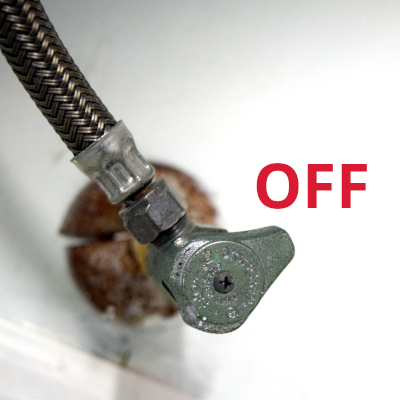
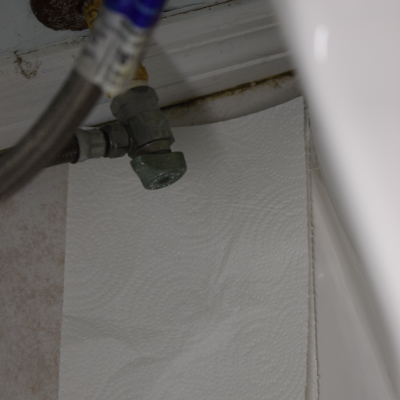
STEP 1: Turn Off the Water and Empty the Tank
- Find the water supply valve coming out of the wall.
- Turn the valve clockwise to close.
- Flush the toilet to empty the tank. Hold the handle for a few seconds until most of the water is out.
- Optional: Use a sponge to soak up excess water.
- When water is removed from the tank, move to STEP 2.
 |
 |
|---|

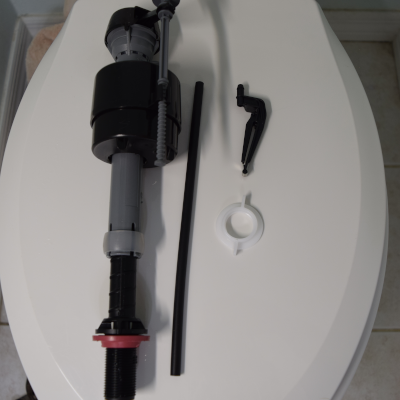
STEP 2: Remove the Fluidmaster 400A Fill Valve from the box.
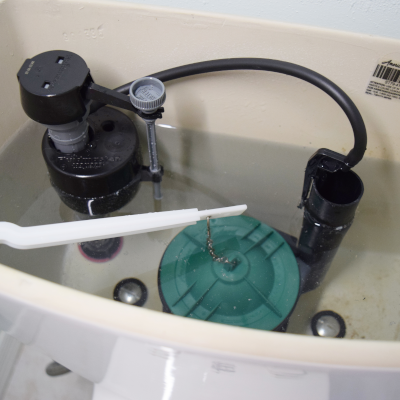
Check to make sure all the following parts are present and in working order (see image). Make sure each part is intact, clean, and free of debris or cracks.
- Valve with valve cap
- Tank water level adjustment screw
- Float Cup
- Refill Tube
- Refill Clip
- Shank Washer
- Locknut
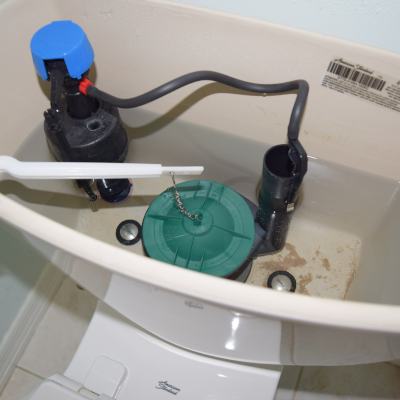
STEP 3: Remove Old Fill Valve
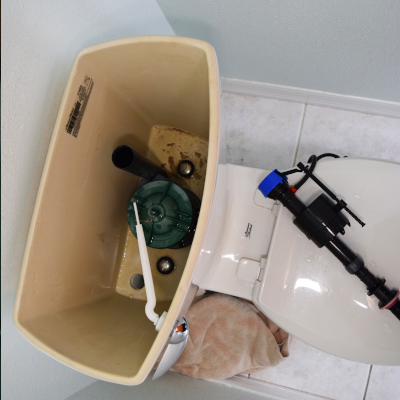
NOTE: If there is still some water in the tank, have a bucket and towels ready.
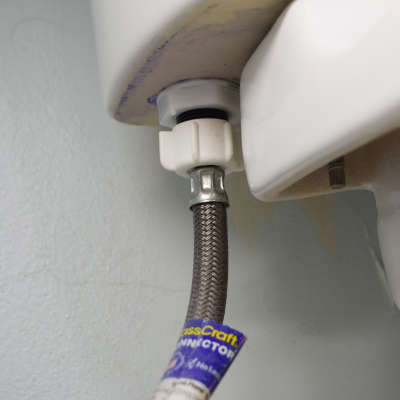
- Below the tank: Remove the water supply connector from the tank by twisting it clockwise. This connector may have been wrench-tightened by the previous installer, though it should twist off easily. Have pliers handy just in case.
- Below the tank: Remove the old locknut, which holds the valve in place. Twist clockwise.
- Inside the tank: Unhook the old refill tube and clip. Remove the old fill valve.
- Allow any excess water to drain into the bucket.
- Wipe the tank’s valve port and the base of the tank with a shop towel to dry. This will help ensure a strong, leak-proof connection with the new valve.

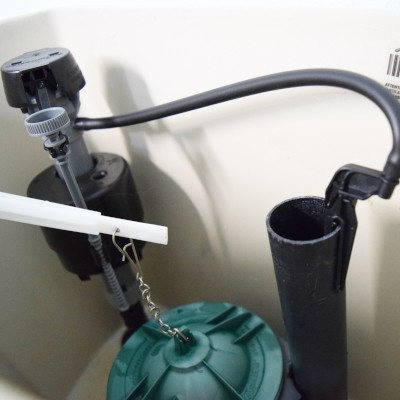
STEP 4: Adjust Fill Valve Height
NOTE: When installed, the top of the fill valve cap should be about 3” above the top of the overflow pipe and NO LESS than 1” above the top of the pipe.
- Twist the shank clockwise to adjust the height. DO NOT move the lock ring.
- TIP: The higher the valve, the more water fills the tank.
STEP 5: Install New Fill Valve
- Place the fill valve in the tank with the refill port pointed toward the middle of the tank.
- Slide the refill tube onto the valve refill port.
- Attach refill clip onto refill tube; clip to overflow pipe with tube pointing into the pipe.
- TIP: If the refill tube is too long to fit inside the tank with the lid closed, remove the tube, cut to fit, and reinstall.
- Check the float cup on the valve to make sure it will slide up and down freely.
- Below the tank: Install locknut: IMPORTANT: HAND TIGHTEN ONLY! Over-tightening may damage the valve or the tank. Thread the locknut onto the pipe sticking out the bottom of the tank counterclockwise.
STEP 6: Attach Water Supply Line
- Below the tank: Thread the water supply connector onto the valve counterclockwise. IMPORTANT: HAND TIGHTEN ONLY! DO NOT over-tighten.
- Place a paper towel or toilet tissue on the floor beneath the water supply connection.
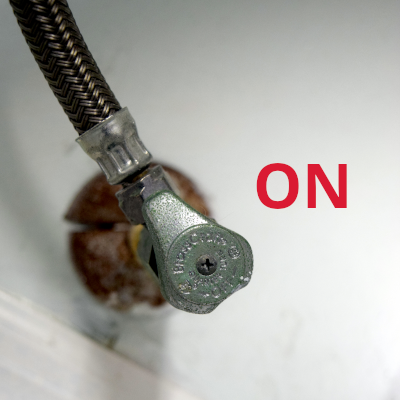
- Turn on water. The tank should begin filling immediately.
- Check for leaks at the locknut and water supply connection. Check around the entire connection using dry fingers and a towel or tissue.
- Wait for the water in the tank to refill again. Check for drips on the paper towel or the floor.
- No leaks? Great! Move to STEP 7.
- Leaks? Make sure the connection is not cross-threaded. Tighten the connection where the leak is happening. If necessary, snug leaky connections with a wrench. DO NOT over-tighten.
STEP 7: Check the Tank Water Level
The water level should fill to about one-half-inch below the overflow pipe.
- Too low? Turn the water level adjustment screw clockwise to adjust the float.
- Too high? Turn the water level adjustment screw counterclockwise to adjust the float.
Flush to reset the water level. If the toilet is flushing and refilling properly and there are no leaks, you’re all done!