Plumbing Tips
Expert Plumbing Tips from the Pros
September 3, 2019
Share: 


We have expert advice and practical tips for caulking, unclogging drains, and selecting a toilet from the pros who know best.

Caulking a Shower- A Tip from Loctite
Remove Old Caulk
- Use a razor blade or scraper to remove existing caulk. Using quick strokes, push the razor flush against the old caulk. This causes it to come off in longer strips that can be easily cleaned up. A chemical remover may also be used.
- Vacuum up the old caulk. Clean up any remaining pieces so you have a perfectly clean work space.
- Wipe down the area with denatured alcohol. Using a cloth, wipe where the old caulk was to ensure you get the best seal possible when you apply the new caulk.
- Clean with bleach. Cleaning with a 1:4 solution of bleach and water removes any mold or mildew that has grown. Make sure your workspace is well ventilated, and wear protective gloves.
- Allow dry time. Give the surface time to completely dry before applying the new caulk.
Seal With New Caulk
- Apply painters tape. Place two strips of painter’s tape parallel to the seam that requires caulking. This will ensure you get a clean, straight line.
- Prepare the Caulk. Load Loctite Polyseamseal Tub & Tile into the caulking gun. Cut the tip to the desired bead size at a 45-degree angle. The tube should be firmly in place with the tip notched in the front of the caulking gun.
- Apply the caulk at a 45-degree angle. The tip of the tube should be close to the surface when you apply caulk on the seam. Slowly apply a smooth bead of sealant.
- Smooth the caulk. Using an applicator tool, press the caulk into the seam, smoothing it out.
Pro Tip: Try to create a straight finish with a gradient of approximately 45 degrees. This will help the joint sealant dry more quickly after being exposed to water – and make it last longer. Do not use your finger to smooth the caulk. This can create a concave shape that will stay wet longer or even accumulate water. - Remove the tape before drying. After you have smoothed all required areas, peel the tape off before the caulk dries.
- Clean off any excess caulk before it dries. Using a wet rag, wipe down the areas that require cleaning. You can paint it with a latex- or oil-based paint two hours after application. Let it sit for at least 48 hours before use.
- Allow dry time. Let sit for at least 48 hours before use.

Unclogging using an Auger - a Tip from General Pipe Cleaners
- Use the right size cable. A 1/4” cable is best for 1-1/4” to 2” lines, while a 3/8” cable is better for 2” to 3” lines.
- Remove the P-trap. When unclogging a sink, it is easier on the cable if you remove the P-trap and start from the straight pipe rather than wrestle your way past the P-trap
- Turn the handle slowly to break up and grab the clog. Once you reach a stopping point, its time for the corkscrew at the end of the wire to do its job. Keep pressure on the auger as you slowly turn it to help it hook the clog.
- Pull the snake out slowly. If you have successfully hooked the clog, you want to keep it on the snake—be slow and gentle as you remove the cable.
- Run the water. Once a clog is cleared, run the water full force for a few minutes to be sure the drain is unclogged.

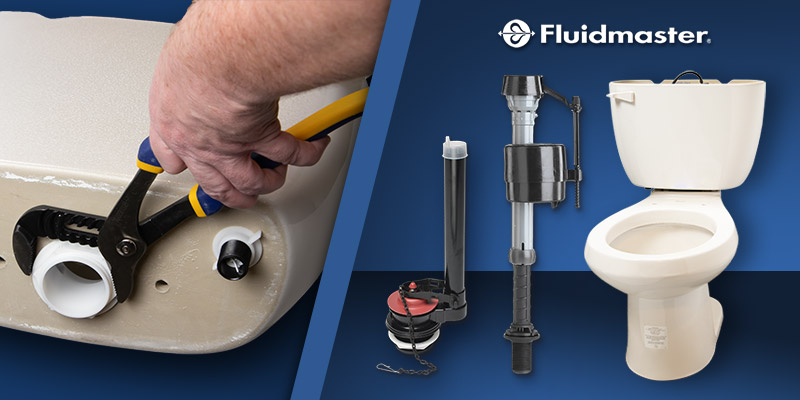
Selecting a Toilet - a Tip from Briggs
- Choose the right toilet height. Options include standard (usually about 14-5/8”) comfort height (16-1/2”) or ADA compliant (17-19”).
- Consider water conservation and look for high-efficiency toilets. Choose from standard 1.6 gpf or WaterSense approved 1.28 gpf and <1.28 options.
- Check the performance MaP Score. This is how much solid waste the toilet can dispose of in one flush. 1000 grams is a perfect score, 500 grams is average. The higher the score the more flush efficiency.
- Choose a bowl shape that fits the bathroom. Elongated for bathrooms with more space or vs Round ideal for smaller spaces.
- Consider the toilets flush mechanism type and ease of future repair. Different styles (flappers, pressure-assist, or other) have different maintenance needs and requirements should they break, choose one that fits best for your property